Canning Tips & Tricks — And Some Favorite Tools
Canning is such a satisfying activity, one that yields tasty and nutritional results year round. Here's an overview of basic steps, some favorite tips and a roundup of our favorite multi-purpose canning tools, all available at Esh Hardware.
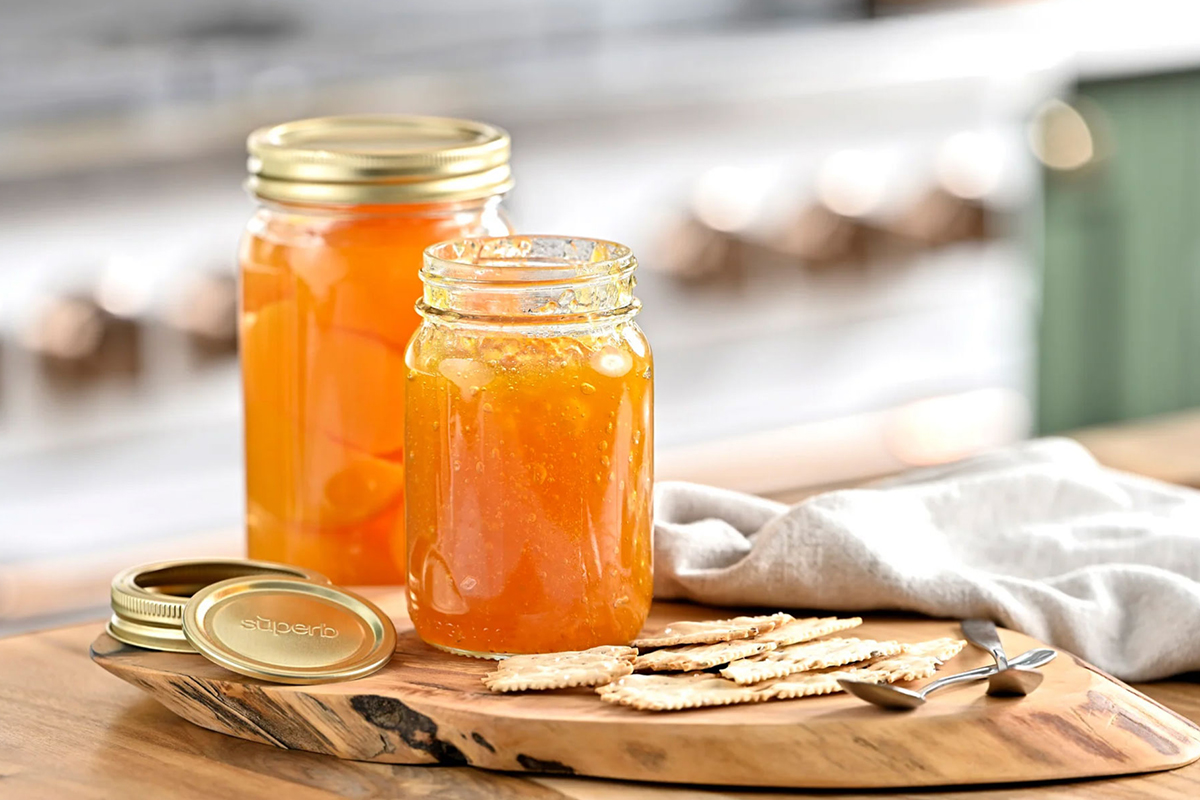
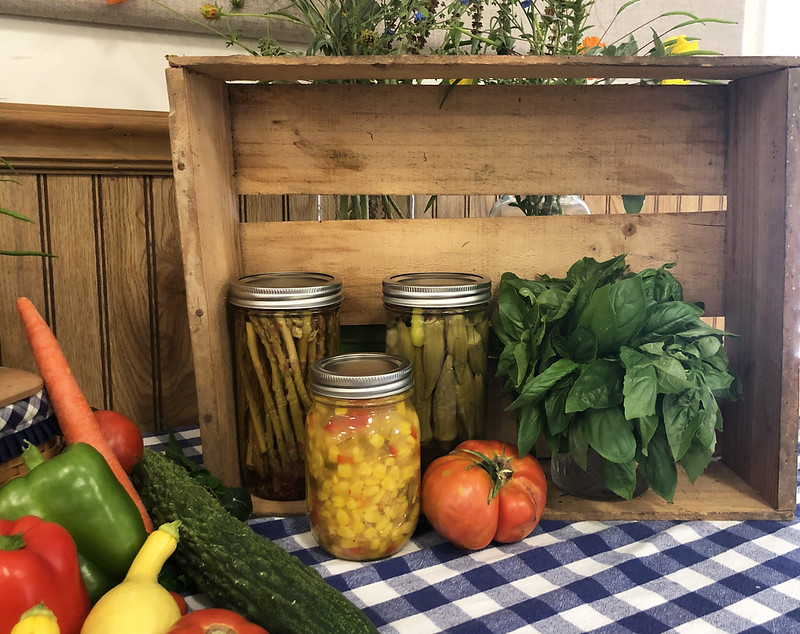
Imagine biting into a sun-ripened peach in winter. Or a rich plate of lasagna topped with a tangy tomato sauce when the snow falls. How about a hearty bowl of vegetable-packed soup during the briskest months of the year? With canning, you can enjoy the natural ingredients you love, long after growing season has passed.
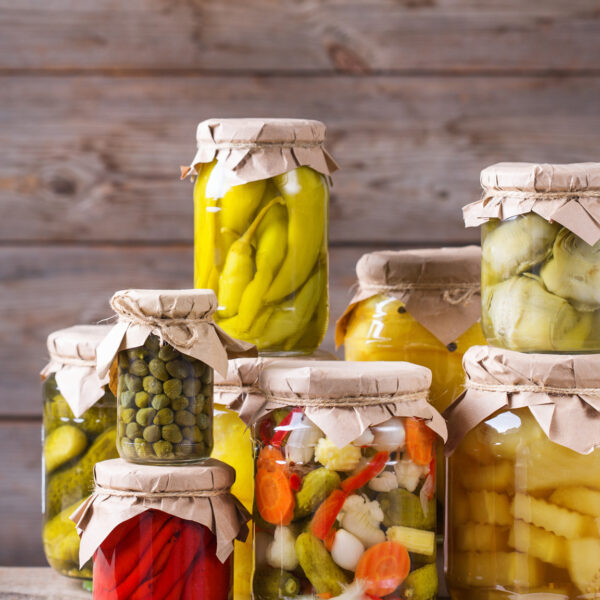
If you’re new to canning, Esh Hardware proprietor Ray Esh recommends starting with something easy, such as canned applesauce or apple butter. Pickled foods, too, such as pickled red beets make great canning projects for beginners. “They are almost easier than your peaches, apples, and pears,” he points out. By contrast, says Esh: “Meats are the toughest to can because you have to cook them correctly and you have to make sure the jars stay sealed.”
Canning is a fun hobby that’s most enjoyable when you invest in the right tools. Always invest in high-quality canning equipment, even better if you can use it for purposes beyond canning.
Canning In A Nutshell
PREP WORK
1 – Quality Counts. Select the freshest and ripest ingredients, whether it’s vegetables and fruits from your garden, or your favorite meats from the butcher’s or farmers market.
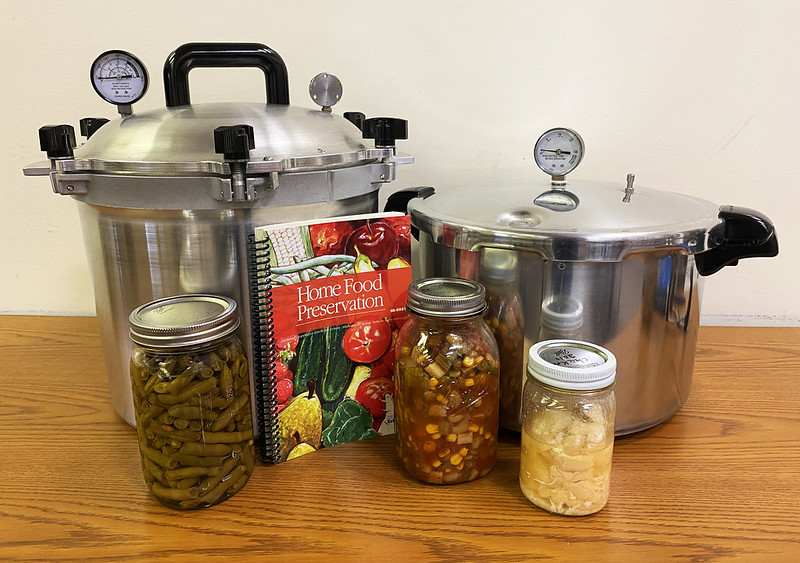
2 – Gather Supplies First. Rather than scramble about, assemble the tools you will need at every step, so you can focus and enjoy the process. For basic canning, you will need:
- Sterilized canning jars, lids, and bands
- A heavy duty pot, or dedicated canner, such as those by DS
- A jar lifter
- Canning funnel
- Basic kitchen utensils, including cutting boards, knives and measuring tools
To sterilize jars, wash thoroughly in hot, soapy water. Keep warm in a low-heat oven. Rings and lids do not have to be kept warm, but should be scrupulously clean. Place lids in a shallow bowl of very warm water to soften the adhesive, enabling them to form a tight seal with the jars and lids.
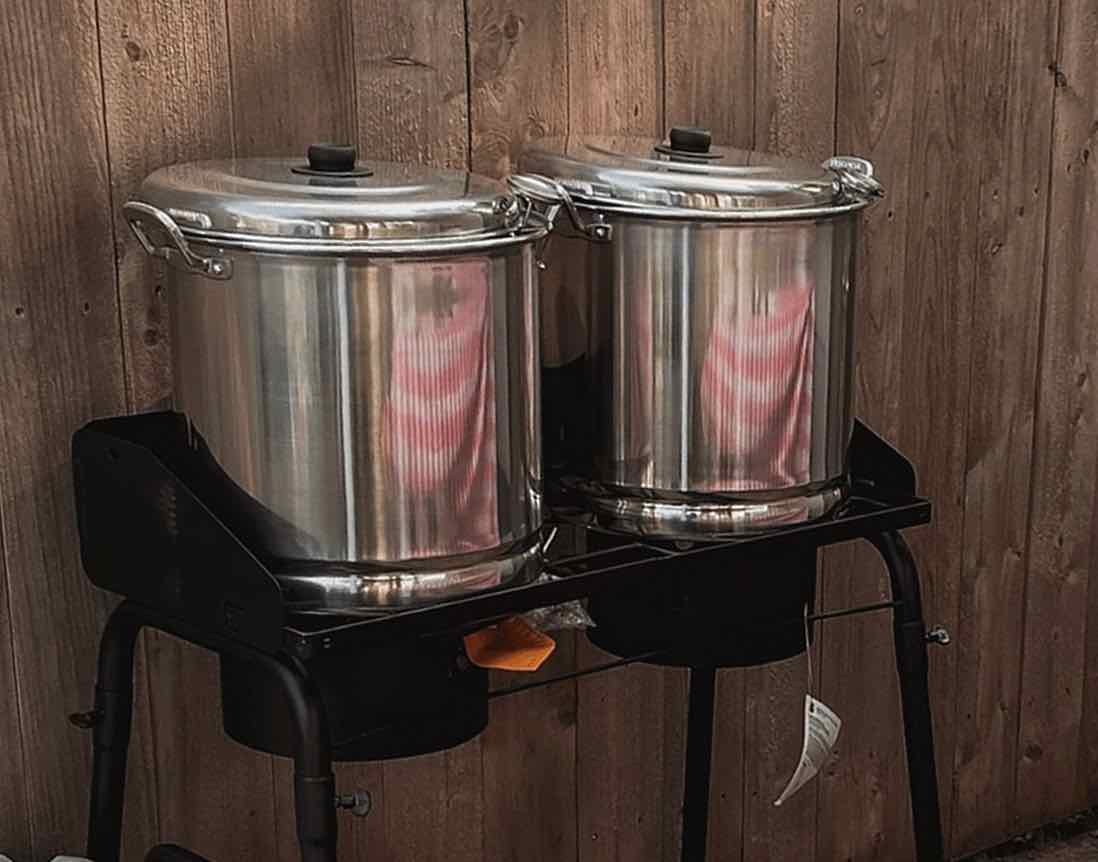
DS Canners - For more than just canning...
We love the strength and versatility of these round, stainless canners by DS, and carry models 2530 and 2540 at Esh Hardware. The difference is capacity: Model 2530 holds up to 30 gallons, while Model 2540 holds up to 40 gallons. Designed for outdoor use, each canner holds up to 30 quart jars, and can be heated with wood, or on an outdoor gas stove.
DS Canners can be used for canning, as well as year-round cooking. Think of them as super-sized stock pots for preparing bulk portions of soups, sauces, chili and more. There’s also a handy side valve, so your DS Canner can serve as a hot water dispenser at large gatherings. Use one at your next outdoor party to serve your favorite hot brew, or for guests to help themselves to tea or cocoa.
If you have a small farm, the DS Canner can be used for a slew of other uses. Think of scalding chickens, making yogurt and cheese or processing bulk foods.
Our Favorite Canner - by DS

READY, SET, CAN!
3 – Select Your Method. There are two main canning methods: Hot-water bath canning, which is ideal for high-acid foods like jelly, jam, preserved fruit, pickles, salsas, tomato sauce and pickled vegetables. The other method is pressure canning, which works well for low-acid foods like vegetables, meats and poultry.
4 – Prepare Your Food. Use a trusted recipe and follow proper safety precautions. Prep your ingredients with care and inspect them to ensure blemishes and spoiled sections have been thoroughly removed, lest they spoil the entire recipe.
5 – Fill Jars. To avoid messes, use a canning funnel and leave space at the top of each jar. The amount of “headspace” needed will vary by recipe. Also, remove air bubbles by tracing a spatula or other non-metal utensil along the interior sides of the jar to release trapped air.
6 – Process Jars. After lids and rings are affixed to the jars, process them according to recipe. This could involve placing them in boiling water for a water bath, or using a pressure canner. Follow your recipe and watch the time closely. Processing times can vary greatly based on the recipe and even the altitude in which you are located.
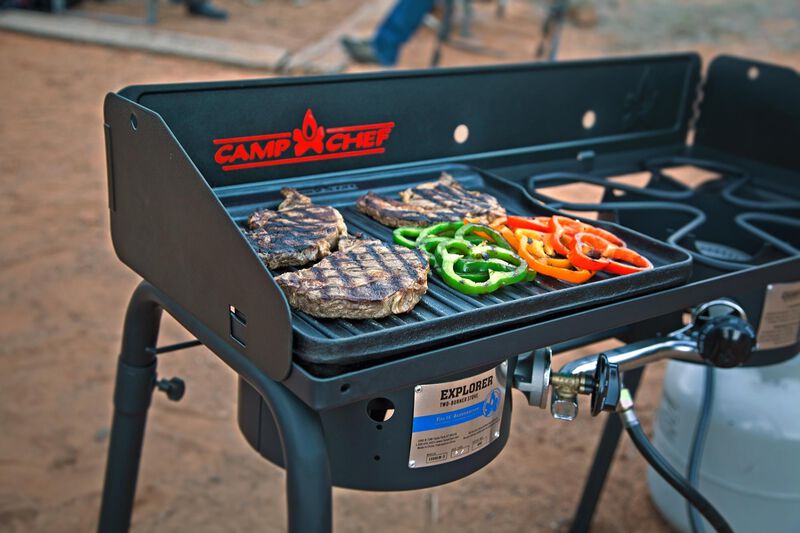
Explorer 14 Burner by Camp Chef
Heat your canners on this powerhouse outdoor stove, which customers like for its multi-use versatility and 30,000 BTU burners, which boil water and cook entire meals with ease. The 2-burner Explorer 14 by Camp Chef is stocked at Esh Hardware, and is our most popular canning tool. Here’s why:
Customers like fresh-air canning because it keeps kitchens uncrowded and temperatures cool, and allows for easy outdoor clean-up. The Explorer 14 by Camp Chef is super-sturdy, so it can hold the weight of large canners, yet is pleasingly portable with removable legs, so you can easily stow it away when not in use.
Beyond canning, the Explorer 14 Burner is part of a comprehensive cook system that’s stunning in its possibilities. Camp Chef sells attachments, accessories and add-ons galore, from an artisan pizza oven and a barbecue grill box, to a flat-top griddle and a popular 32-quart cooker pot with steamer basket.
If you like to can beets, stop by Esh Hardware to check out the innovative DS accessory that enables you to place cooked beets and water into cold jars and seal.
Always keep propane tanks filled, with back-ups on hand, during canning season. Esh Hardware has on-site propane refills for tanks up to 100 pounds!
MOST POPULAR: OUTDOOR CANNING COOKER
BONUS: FOR OUTDOOR COOKING ENTHUSIASTS
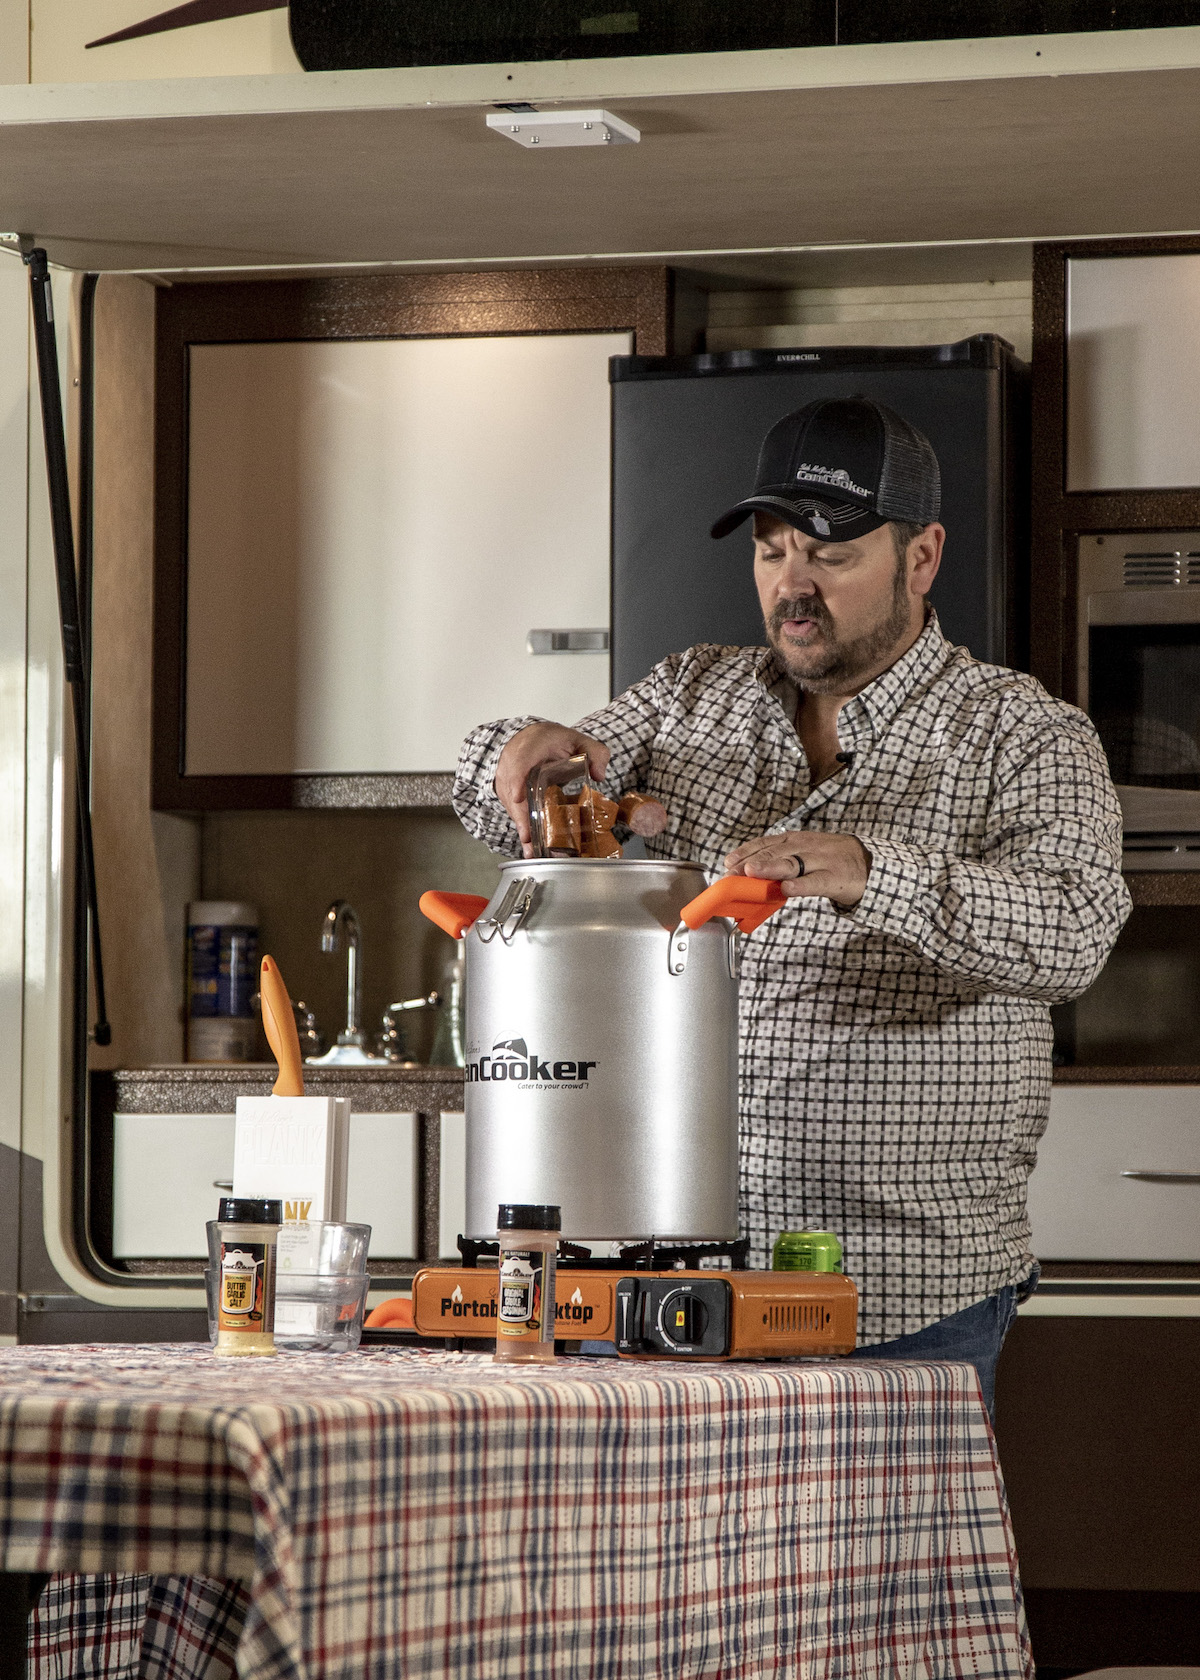
Seth McGinn’s CanCooker
Cooking in a cream can? Why, yes! It’s what cowboys did for decades during cattle drives, and now the idea’s been updated for the 21st Century.
The CanCooker is a high-grade aluminum device that uses steam to cook entire meals. Think of slow, even heat instead of pressure. It’s also perfect for cooking meats, since its tight seal and ultra-high temperature kill bacteria.
While the CanCooker is not strictly a canning tool per se, it’s a great way to cook the items you plan to can, such as meats, soups and stews.
Think of the CanCooker as a stovetop crockpot. But unlike a crockpot, it doesn’t need to be plugged in and can be used on a stove top, burner or grill. Take it with you camping and heat it on the barbecue, campfire, or on top of a portable cook top.
Ideal for large gatherings, its capacity is 4 gallons and feeds up to 20 people.
Place vegetables on the bottom of the CanCooker, then add your meats, and top it off with your favorite sauces and spices.
BONUS TIP: A can of Mountain Dew soda placed on the bottom of the CanCooker will make ingredients and meals even more moist.
WRAPPING IT UP
7 – Rest Jars. After processing is complete, the jars will need to cool undisturbed for about 12-24 hours.
8 – Inspect Seals. After the jars have cooled, check the seals to ensure they are tight. At this point you can remove the rings, since they are no longer necessary, and can be prone to rust or decay over time. Plus, food and debris can get trapped between the ring and the seal, ultimately spoiling the jar’s contents. To ensure the seal has held, lids should be concave and not move when pressed down upon. If the jar has not successfully sealed, please discard—or use its contents at your discretion.
9 – Label Jars. Finally, label your jars, making sure to include the contents and the date sealed, and move to a cool, dark place for storage.
Congratulations! Enjoy the fruits of your labor throughout the cold months of winter. Maybe it’s time to plan next spring’s garden 🙂
FAVORITE CANNING CLEAN-UP TOOLS
E-Cloth Stainless Steel Cleaning Kit
After washing your canners, make them sparkle with the E-Cloth, Stainless Steel Kit, sold at Esh Hardware. We love the longevity of these tough cleaning cloths, which are guaranteed to last for 1 year or 100 washes.
To use on stainless steel canners:
- Dampen the microfiber cloth with water to activate it, and use it to remove dirt, fingerprints and nearly 100% of bacteria from canners — crucial when canning food.
- Use the striped side for brushed stainless steel canners, and the solid side for polished stainless steel.
- Follow with the Glass & Polishing cloth (included) to completely dry your canner, and give it a bright, like-new finish.
Important: Resist the urge to add cleaning products or pastes to the E-Cloth. Use only water.
Rinse the E-cloth with warm water and let it air-dry between uses. After a few uses, launder it in a washing machine with regular detergent, and dry in the dryer. Do not use bleach or fabric softeners.

The Pink Stuff!
“A jar of miracles” is how this popular pink paste is typically described, and perhaps with good reason. The Pink Stuff a mildly abrasive cleaner that comes in a paste formula. (It also comes in a cream cleaner formula.) Apply with a damp cloth to clean hard surfaces around the home, including your canning equipment.
To use on stainless steel canners:
- Using a damp rag or cleaning sponge, scoop The Pink Stuff out of the container and spread over your stainless steel surfaces until completely covered.
- Work the paste into the steel, spending time on caked-on food or grease.
- Wipe thoroughly with a damp towel or rag, making sure to remove all traces of the paste.
- To make sure no trace remains on your canners, you can follow-up with a multi-purpose cleaner or stainless steel polish.
Before using on a highly polished stainless steel, test a small area to make sure it does not scratch the surface.